Follow Me On Social Media!

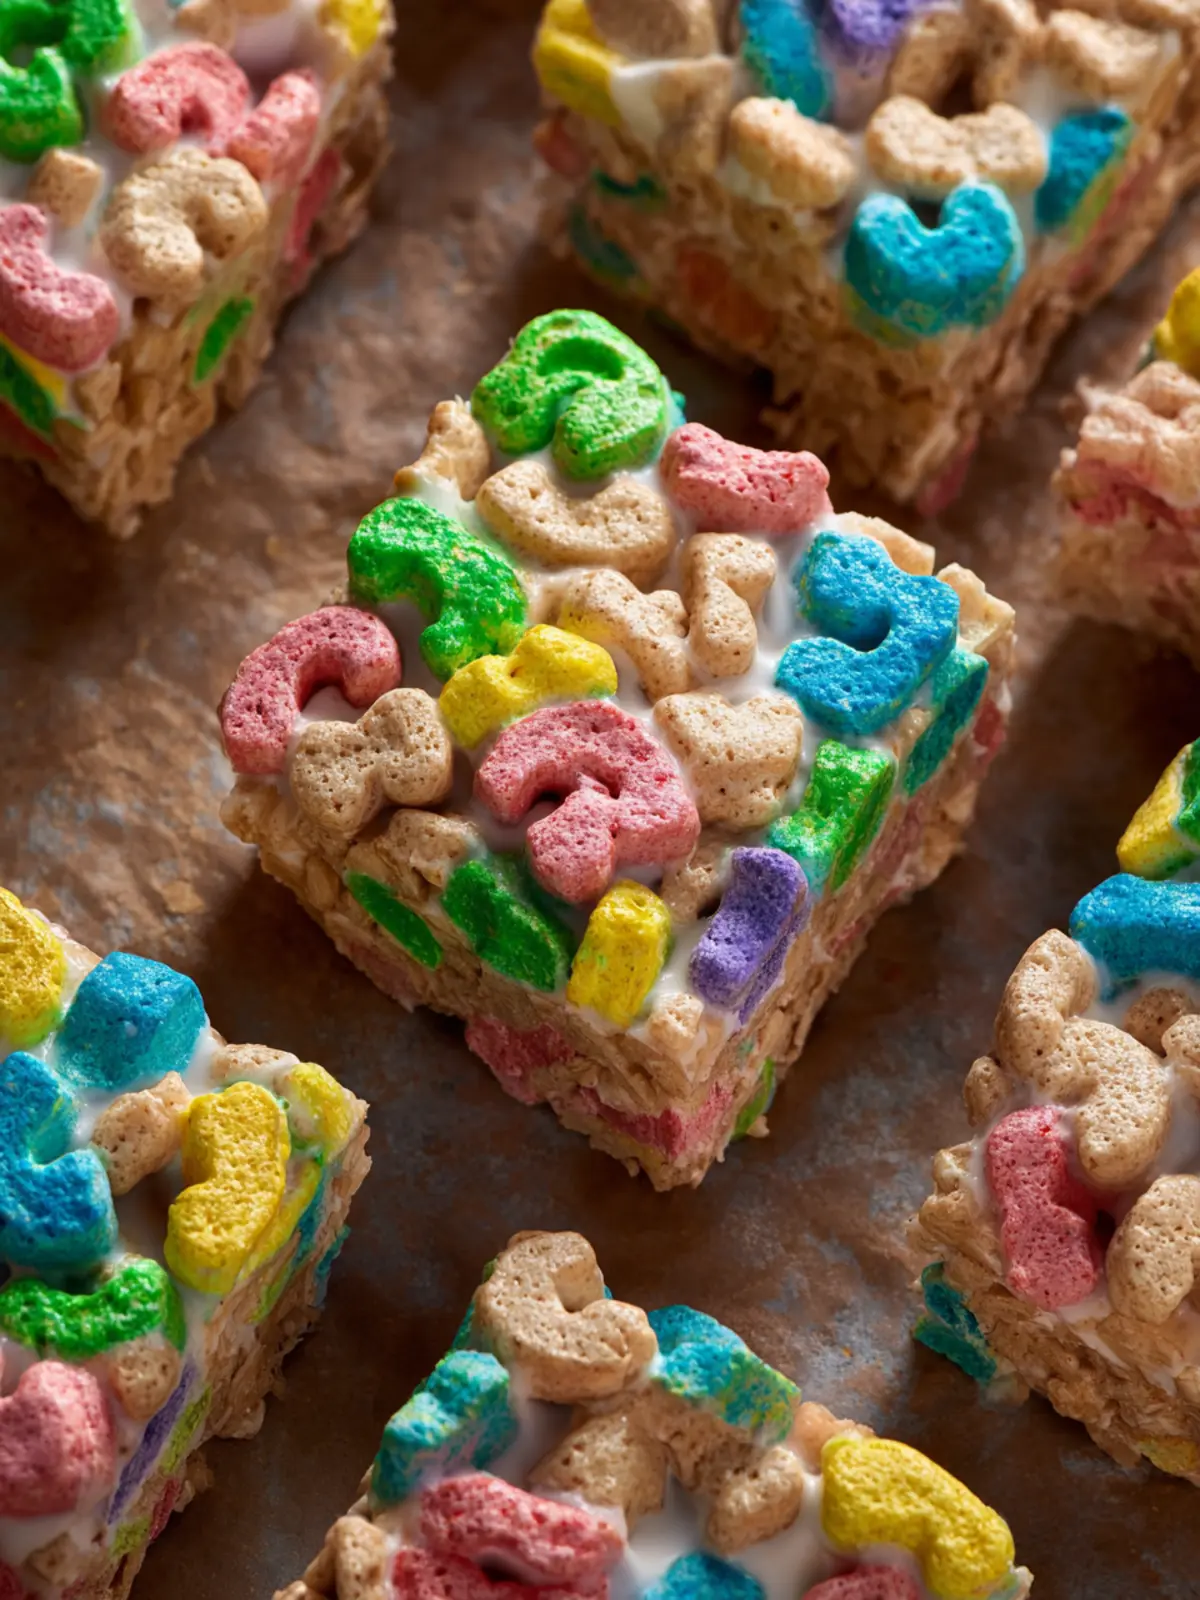
Homemade Lucky Charms Treats: Irresistibly Chewy Delight!
Introduction to Homemade Lucky Charms Treats
Homemade Lucky Charms Treats bring a wave of nostalgia with every gooey, marshmallowy bite. These playful, colorful treats are not just a favorite childhood snack; they also hold the power to evoke cherished memories and joyful moments spent with friends and family. Imagine sitting on the couch with a cozy blanket, savoring these sweet squares while reminiscing about your childhood cereal-filled mornings.
The beauty of homemade Lucky Charms treats lies in their delightful combination of crispy rice cereal and vibrant marshmallows, creating an unmistakably fun texture and taste experience. You’ll find that making these treats at home allows you to customize the recipe to your liking, whether you prefer a chewy texture or a crispier finish. Plus, whipping up a batch is a fantastic way to engage your culinary creativity in the kitchen.
What makes Homemade Lucky Charms Treats so special?
There are plenty of reasons why homemade Lucky Charms treats deserve to be your next go-to dessert. For one, they are incredibly easy to make and require minimal ingredients. With just a few kitchen staples, you can create a deliciously sweet snack that’s perfect for sharing at gatherings or enjoying on your own.
-
Customizable Flavor: You can play around with different types of cereal or even incorporate other fun mix-ins, like chocolate chips or sprinkles, to elevate your treats.
-
Nostalgic Appeal: Each bite of these colorful, marshmallow-studded squares can invoke childhood memories, making them a truly special treat for both kids and adults alike.
-
Quick and Simple: The straightforward process means you can have a batch ready in no time—perfect for surprise guests or a last-minute snack attack.
-
Great for Celebrations: Whether for a birthday party, holiday festivities, or even just a cozy movie night at home, homemade Lucky Charms treats are sure to bring smiles to everyone around.
So, gather your ingredients and get ready to embark on a sweet adventure in your kitchen! Your taste buds (and your inner child) will thank you.
Key Ingredients for Homemade Lucky Charms Treats
Creating homemade Lucky Charms treats brings back nostalgic memories, where the marshmallows dance atop the cereal in a delightful, gooey blend. Here’s what you’ll need to concoct this sweet marvel:
-
Lucky Charms Cereal: The star of the show! Using the classic Lucky Charms cereal gives your treats an enchanting mix of crunchy oats and marshmallow magic. If you have other fruity cereals at home, you can mix it up a bit for a unique touch!
-
Marshmallows: Mini marshmallows work best, as they melt beautifully and create that ooey-gooey texture we all love. Feel free to use a mix of colors for a vibrant look—after all, treats are all about fun!
-
Butter: A generous amount of butter is essential. Not only does it add richness, but it also helps to bind everything together perfectly. I recommend using unsalted butter to have better control over the sweetness.
-
Optional Extras: If you really want to elevate your homemade Lucky Charms treats, consider adding a splash of vanilla extract or a pinch of salt. This little boost can enhance the flavor dramatically.
With these ingredients in hand, you’re on your way to creating a whimsical treat that sparks joy in every bite!
Why You’ll Love These Homemade Lucky Charms Treats
Homemade Lucky Charms treats are not just a nostalgic snack; they evoke childhood memories of carefree mornings spent pouring over cereal, dreaming of whimsy and adventure. Imagine the satisfaction of creating a delightful dessert that combines crispy, crunchy cereal with sweet, gooey marshmallows right in your own kitchen!
Here’s why these treats will win you over:
-
Quick and Easy: This recipe brings back the joy of making something delightful without spending hours in the kitchen. With just a handful of ingredients, you can whip up a batch in no time. Whether you need a last-minute party treat or a sweet surprise for your friends, these are ready in a flash!
-
Customizable: Feel free to tailor them to your taste! Add in extras like chocolate chips, nuts, or even sprinkles to make them uniquely yours. Let your creativity flow—after all, who says treats can’t be colorful and fun?
-
Perfect for Sharing: Who wouldn’t want to share a nostalgic goody that sparks joy? These homemade Lucky Charms treats are perfect for gatherings, bake sales, or simply enjoying with loved ones on a cozy evening.
With each bite, you’ll relish the sweet combination of marshmallowy goodness and crispy cereal, making these treats an instant favorite!
Cooking Tips and Notes for Homemade Lucky Charms Treats
Creating homemade Lucky Charms treats is not just about following a recipe—it’s about tapping into the joy and nostalgia associated with this beloved snack. Imagine rounding up your friends for a cozy game night or celebrating a special occasion with these colorful marshmallow squares. Here are some handy tips to ensure your treats turn out perfect every time!
Choosing the Right Marshmallows
Opt for mini marshmallows, as they melt more evenly and incorporate into the mixture seamlessly. If you’re feeling adventurous, mix in a few larger marshmallows for added texture.
Butter Matters
Using high-quality butter enhances the flavor of your homemade Lucky Charms treats. I recommend unsalted butter for better control over the sweetness. Make sure to melt it slowly to avoid scorching—nobody wants a burnt taste in their treats!
Mix It Up
When combining the cereal and melted marshmallows, work quickly! Cool marshmallows can be quite sticky. A greased spatula can help you mix the ingredients without too much mess.
Let It Set
Give your treats time to cool down completely in the pan before cutting. If you try to slice them too soon, they might crumble. Patience is key for those perfectly shaped squares!
Storage Tips
To keep your homemade Lucky Charms treats fresh, store them in an airtight container. They’ll usually stay fresh for up to a week, but I bet they won’t last that long once everyone gets a taste!
Creating these delightful squares can be a fantastic experience filled with warmth and flavor. Enjoy making memories with each batch!
Serving Suggestions for Homemade Lucky Charms Treats
Crafting homemade Lucky Charms treats isn’t just about following a recipe; it’s about creating magical moments. Picture this: a cozy weekend with friends or a family gathering, where your sweet creation becomes the center of attention. Here are some delightful serving ideas to elevate your treats.
Perfect Pairings
- Milk Dipping: Serve your homemade Lucky Charms treats with a side of cold milk for a nostalgic touch that enhances their flavor.
- Ice Cream Sandwiches: Turn your treats into an unforgettable ice cream sandwich by layering your favorite flavor in between two squares.
Fun Presentation Ideas
- Rainbow Sprinkles: For a festive look, sprinkle a handful of colorful sprinkles on top before they set. This adds extra sweetness and visual flair.
- Themed Plates: Consider serving these treats on colorful, themed plates—think St. Patrick’s Day or children’s parties—which can add to the fun atmosphere.
Personal Touches
- Individual Wrappings: For a fun twist, individually wrap the squares in clear cellophane and tie them with a ribbon to create adorable party favors or lunchbox surprises.
These simple yet effective ideas will bring your homemade Lucky Charms treats to life, making them a hit at any occasion. Happy serving!
Time Breakdown for Homemade Lucky Charms Treats
Creating your delightful homemade Lucky Charms treats doesn’t have to be overwhelming! Here’s a quick breakdown to make your culinary journey smooth and satisfying.
Preparation time
Get ready to roll — it takes about 10 minutes to gather ingredients and mix everything together. You’ll be amazed at how quickly these come together.
Cooling time
Once you’ve pressed the mixture into your pan, set aside 30 minutes to let them cool. This is the perfect time to pour yourself a cup of tea or coffee.
Total time
From start to finish, your homemade Lucky Charms treats will be ready in just about 40 minutes. In no time, you’ll be enjoying this nostalgic treat!
Nutritional Facts for Homemade Lucky Charms Treats
Creating your own homemade Lucky Charms treats can be a fun and delicious way to reminisce about childhood, but it’s also essential to be aware of the nutritional content. Here’s a breakdown to keep in mind while you whip up these delightful snacks.
Calories
Each serving of your homemade Lucky Charms treats typically contains about 150-200 calories. This can vary based on the precise amounts of marshmallows and butter you use, making it a sweet indulgence worth enjoying in moderation.
Sugar Content
One of the highlights of homemade Lucky Charms treats is their sweetness. Expect approximately 10-12 grams of sugar per serving, largely coming from the marshmallows. Although satisfying, be mindful of this sugar count, especially if you’re keeping an eye on your daily intake.
Fiber
While homemade Lucky Charms treats are not considered a substantial source of fiber, they do offer about 1 gram per serving. For a more balanced snack, consider pairing them with fruits or nuts to increase your fiber intake while savoring the nostalgic flavors!
FAQ About Homemade Lucky Charms Treats
Creating your own homemade Lucky Charms treats isn’t just a delicious activity; it’s a fun way to indulge and reminisce about childhood. Let’s address some common questions you might have to help you make the best-tasting treats possible.
How can I make my treats less sticky?
Sticky treats can be a nuisance! To reduce stickiness, consider these tips:
- Use more butter: When melting the marshmallows, add a touch more butter. This not only improves flavor but also creates a non-stick surface.
- Cool before cutting: Allow your homemade Lucky Charms treats to cool completely before you cut them into squares. The cooling process helps them firm up.
- Dust with powdered sugar: Lightly dust the sliced treats with powdered sugar before storing. This creates a barrier that minimizes stickiness.
Can I use a different cereal for this recipe?
Absolutely! If you’re feeling adventurous or simply want to use what you have on hand, feel free to swap out Lucky Charms with another cereal. Here are a few suggestions:
- Rice Krispies: Classic and crunchy, these provide a neutral base that lets the marshmallows shine.
- Cheerios: For a healthier twist, Cheerios add a whole grain element and work well with marshmallows.
- Any puffed cereal: Just ensure it has a comparable texture to maintain that iconic treat feel.
What’s the best way to store leftover treats?
To keep your homemade Lucky Charms treats fresh and tasty:
- Store in an airtight container: This prevents them from drying out.
- Keep them at room temperature: These treats can be stored at room temperature for up to a week. Just make sure they’re not in direct sunlight to avoid melting.
- Refrigerate if needed: If your environment is humid, consider refrigerating them, but they’ll be firmer, so let them sit at room temperature for a bit before enjoying.
With these tips, you’re all set to make and enjoy your homemade Lucky Charms treats!
Conclusion on Homemade Lucky Charms Treats
Creating homemade lucky charms treats can be a delightful adventure in both the kitchen and your taste buds. With just a handful of ingredients like marshmallows, butter, and, of course, those iconic cereal charms, you can whip up a nostalgic snack that’s perfect for any occasion. Remember, it’s all about timing and mixing the ingredients just right to get that irresistible gooeyness. Whether you’re indulging solo or sharing with friends, these colorful treats are sure to evoke smiles and spark joy. So why not take a little time to make your own batch today? Happy snacking!
Print
Lucky Charms Marshmallow Treats
- Total Time: 2 hours 15 minutes
- Yield: 12 servings 1x
- Diet: vegetarian
Description
Delicious and sweet marshmallow treats made with Lucky Charms cereal, perfect for any occasion!
Ingredients
Scale
- 6 cups Lucky Charms cereal
- 4 tbsp salted butter (see notes for using unsalted butter)
- 10 oz bag of mini marshmallows
- extra Lucky Charms marshmallows (optional, for topping)
Instructions
- Line an 8×8 or 9×9 inch baking pan with parchment paper, or spray with nonstick cooking spray. Set aside.
- In a large saucepan, melt the butter over medium heat.
- Once melted, add the marshmallows and continue cooking over medium heat, stirring continuously for about 3-5 minutes until the mixture is thin, smooth, and the butter has completely incorporated into the melted marshmallows.
- Once melted, immediately add in the Lucky Charms cereal and mix together until the cereal is covered with the marshmallow mix.
- Working quickly, add the mixture to the prepared baking pan and press down using a silicone spatula or your hands. If needed, add a bit of non-stick cooking spray or butter to the spatula or hands so the marshmallow treats don’t stick.
- If desired, gently press extra Lucky Charms marshmallows to the top of the treats.
- Let set for at least two hours at room temperature. Once set, slice and enjoy!
Notes
- For a less sweet treat, consider using unsalted butter.
- Prep Time: 10 minutes
- Cook Time: 5 minutes
- Category: Dessert
- Method: No-Bake
- Cuisine: American
Nutrition
- Serving Size: 1 piece
- Calories: 150
- Sugar: 12g
- Sodium: 50mg
- Fat: 5g
- Saturated Fat: 3g
- Unsaturated Fat: 2g
- Trans Fat: 0g
- Carbohydrates: 25g
- Fiber: 0g
- Protein: 1g
- Cholesterol: 15mg