Follow Me On Social Media!

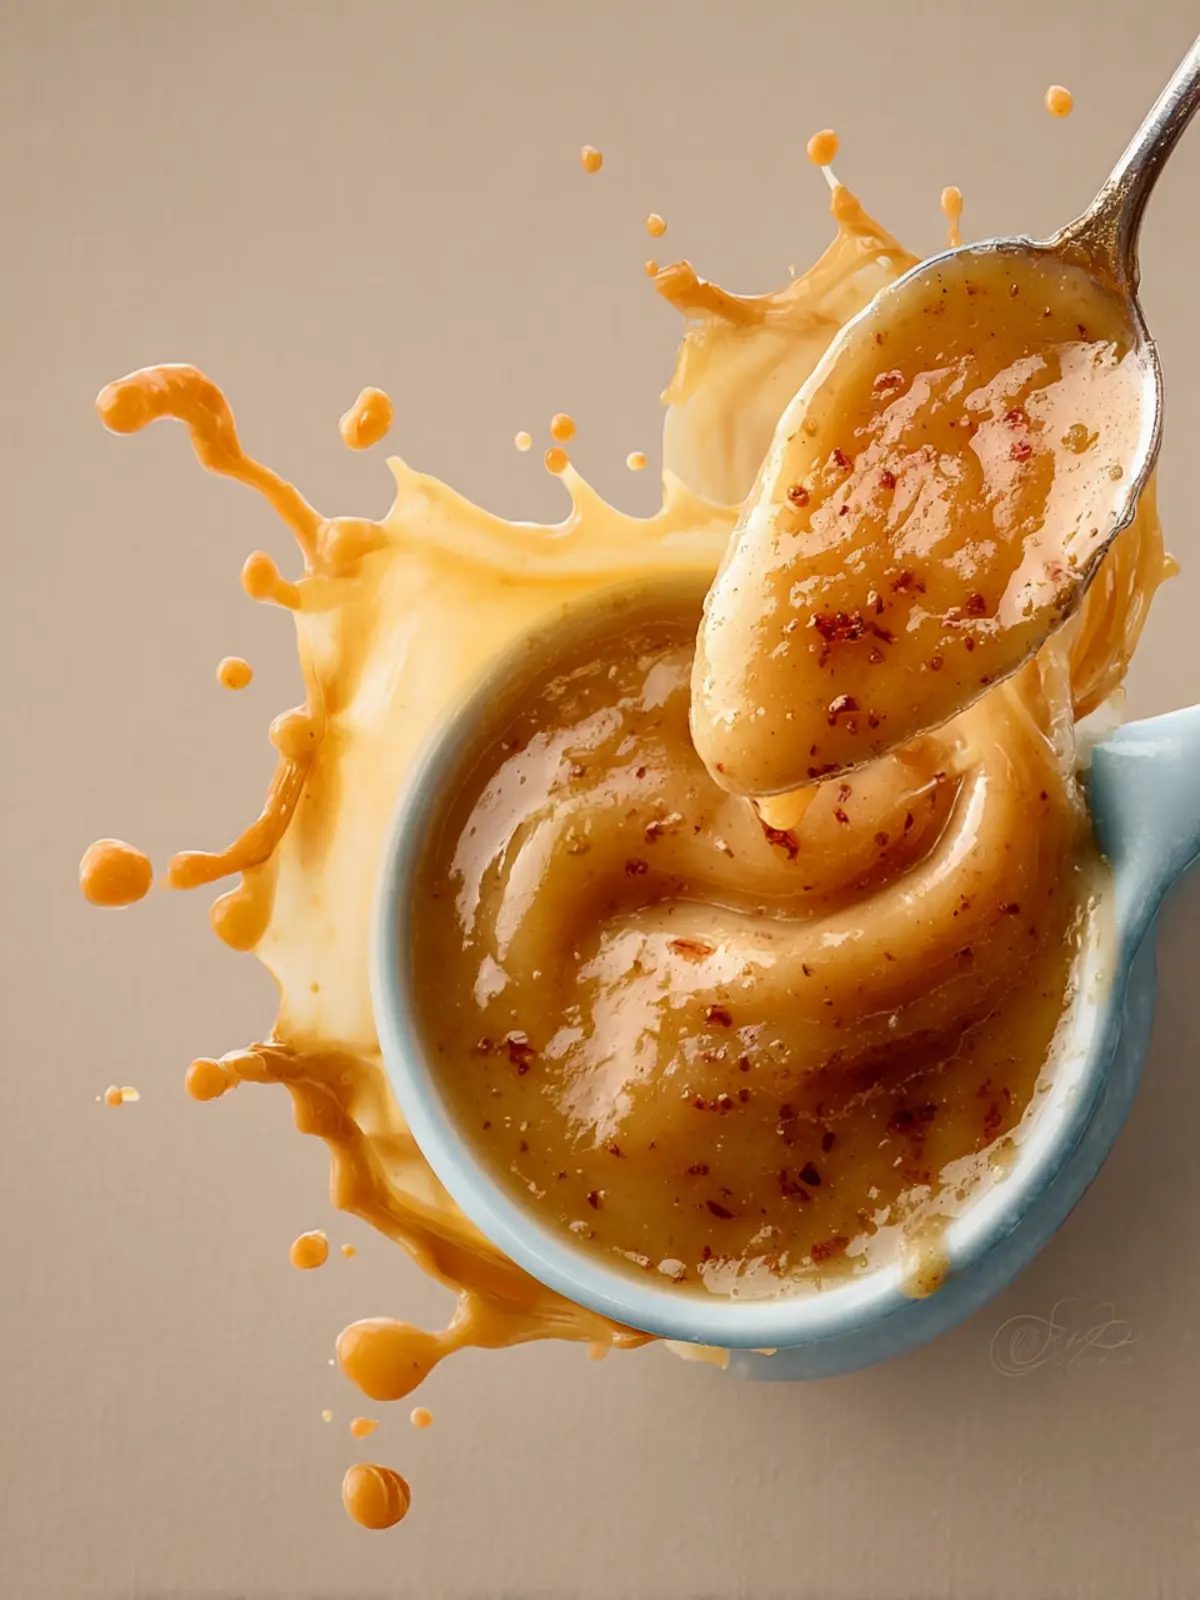
Gravy From Drippings: The Best Homemade Comfort Sauce!
Introduction to Gravy From Drippings
Gravy from drippings is more than just a savory addition to your plate; it’s a celebration of flavors that transforms any meal into a feast. Imagine inviting your friends over for dinner, pulling out that golden-brown roast from the oven, and then using the flavorful juices left behind to create a rich, velvety gravy. It’s a simple process that not only enhances your dishes but also adds depth and complexity that store-bought sauces simply can’t match.
The magic of making gravy from drippings lies in its foundation—those incredible juices that accumulate in the bottom of your roasting pan. These drippings hold the essence of your main dish—every herb, spice, and seasoning used during cooking is collected, creating a delicious base that can be transformed into a beautiful gravy.
Why Making Gravy from Drippings Transforms Your Meals
-
Depth of Flavor: Store-bought gravies often lack the richness and authenticity of homemade versions. By using drippings, you are incorporating all the flavorful nuances from your protein, giving you a product that bursts with taste.
-
Versatile Use: Gravy from drippings isn’t just for meat—it can enhance mashed potatoes, vegetables, and even biscuits. It ties your whole meal together, making everything taste like they belong.
-
Economical and Waste-Reducing: Instead of discarding those flavorful juices, you’re turning leftovers into something delicious. This not only adds value to your meal but also embraces the principle of using all parts of what you cook.
-
Easy to Make: With just a few additional ingredients like flour and broth, you can create a rich gravy in a matter of minutes. It’s an effortless way to elevate your home-cooked meals without the need for culinary expertise.
As you explore the art of creating gravy from drippings, you’ll discover that it’s about more than just food; it’s about connecting with your cooking and enhancing your culinary experiences. So, roll up your sleeves and let’s dive into the delicious world of homemade gravy!
Key Ingredients for Gravy From Drippings
Pan drippings from roasted meat: The heart of any delicious gravy from drippings, pan drippings are where the magic happens. These flavorful juices capture everything savory and succulent from the meat, adding a rich foundation to your gravy that’s hard to replicate.
Unsalted butter: A timeless ingredient that takes your gravy to the next level! It not only enhances richness but also allows you to control the sodium levels. You can always add more salt later, but starting with unsalted butter gives you the flexibility to get your seasoning just right.
All-purpose flour: This is a key player in achieving that luscious texture we all crave. Flour’s essential role in thickening the gravy starts with creating a smooth roux, which provides a nice base. If gluten is a concern, feel free to swap in cornstarch.
Broth or stock: Choose a broth that complements your roasted dish, whether it’s chicken, beef, or vegetable—this adds an extra layer of depth and personality to your gravy.
Whole milk: For ultimate creaminess and a velvety mouthfeel, whole milk is your go-to. It balances the flavors beautifully and rounds out the richness.
Kosher salt: To elevate the overall taste, always taste and adjust your seasoning with kosher salt. Remember, it’s all about balance!
Why You’ll Love This Gravy From Drippings
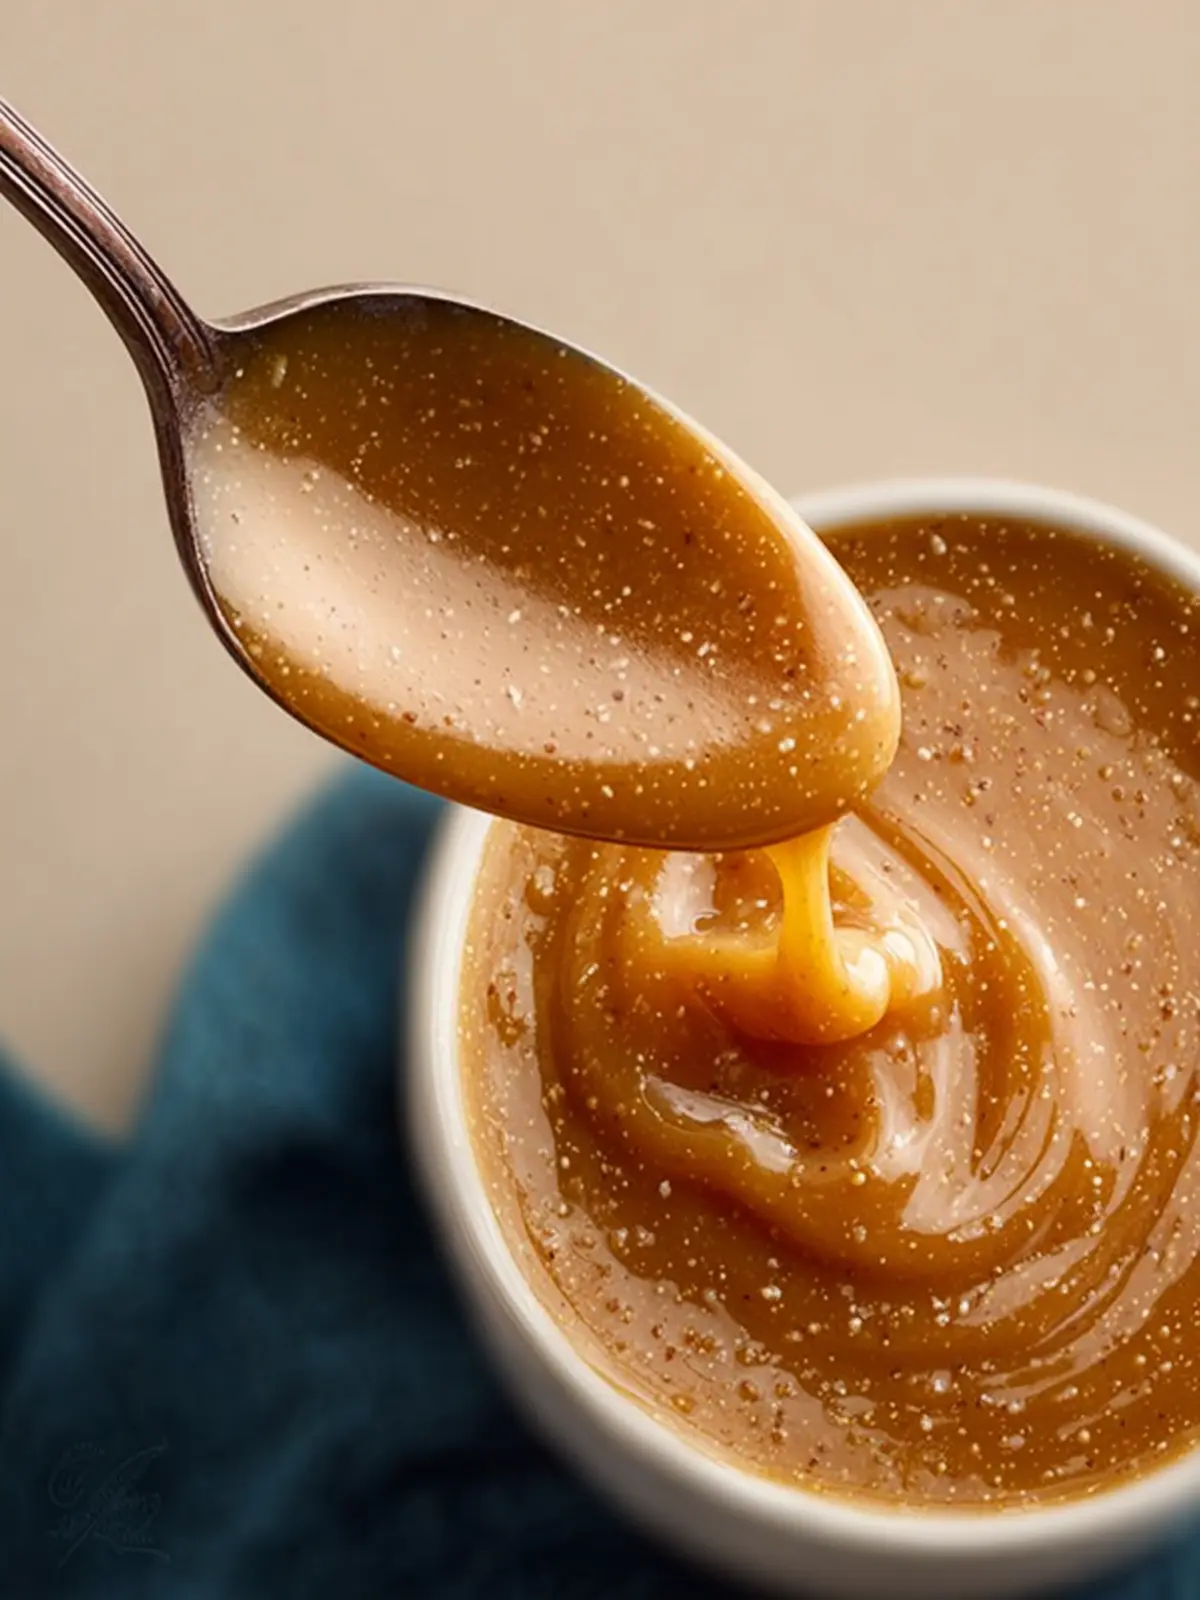
Creating a delicious gravy from drippings is not just a culinary skill; it’s an art that transforms any meal into a comforting experience. Imagine drizzling that rich, savory sauce over mashed potatoes or roasted vegetables—pure bliss. This homemade gravy brings back memories of family gatherings and Sunday dinners, making it a staple in every kitchen.
The simplicity and quickness of the recipe
One of the greatest perks of this gravy recipe is its simplicity. With just a few ingredients—like those flavorful drippings left from your roast—you can whip up a batch in under 15 minutes. There’s no need for complicated techniques or hard-to-find spices. Just heat, whisk, and enjoy!
Perfect for special occasions or everyday meals
Whether it’s Thanksgiving or a casual weeknight dinner, this gravy from drippings fits right in. It effortlessly elevates any meal, making even the simplest of dinners feel special. So whether you’re serving a feast or a quick family supper, this gravy is your go-to companion.
Elevates any dish it accompanies
Let’s not underestimate the power of gravy. It adds moisture and flavor, turning dry bites into juicy, mouthwatering morsels. Picture it: a rich gravy draped over turkey or beef, or even as a dip for your favorite bread. It’s versatility at its finest, ensuring every dish reaches its full potential.
Variations on Gravy From Drippings
Creating the perfect gravy from drippings is an art, but there’s room for a bit of creativity. Exploring variations can elevate your culinary experience, making every meal special.
Different Types of Meat Drippings to Use
The beauty of gravy from drippings lies in its versatility. Here are some drippings you can work with:
- Chicken: Offers a lighter, more delicate flavor, perfect for pairing with creamy or herb-infused gravies.
- Beef: Richer and more robust, ideal for hearty meals. Beef drippings can produce a luxurious gravy that complements red meats beautifully.
- Pork: Slightly sweet and savory, pork drippings create silky gravies that are fantastic with roasted vegetables or in a sandwich.
- Turkey: A classic for holidays, turkey drippings lend themselves to rich, flavorful gravies that bring warmth to your feast.
Creating Unique Flavors with Different Broth Options
To personalize your gravy from drippings, consider using different broth bases. Here are some flavorful swaps:
- Vegetable Broth: Adds a lighter touch and layers of freshness, great for vegetarian gravies.
- Beef Broth: Enhances the depth if you’re using beef drippings, giving your gravy a satisfying umami flavor.
- Wine: Integrating a splash of white or red wine can elevate your gravy with a sophisticated touch, whether you’re making a simple chicken gravy or a robust pork variant.
Adjusting Thickness with Cornstarch or Additional Liquid
Getting the right consistency is crucial for a delicious gravy from drippings. Here’s how to master it:
- Cornstarch Slurry: Mix equal parts water and cornstarch, then gradually add it to your gravy while stirring. This method thickens your gravy without altering the flavor significantly.
- Additional Liquid: If your gravy becomes too thick, simply add a bit more broth or water until it reaches your desired consistency, ensuring not to lose those delectable meat flavors.
Experimenting with these variations can take your gravy from drippings to the next level, transforming a simple meal into something spectacular. Enjoy the journey of flavor discovery!
Cooking Tips and Notes for Gravy From Drippings
Creating rich and flavorful gravy from drippings is an art worth mastering, and the magic often begins long before you start thickening your sauce.
Best practices for collecting and using drippings
To ensure the best flavor, start by carefully collecting drippings right from the roasting pan as soon as your meat comes out of the oven. Allow the pan to cool slightly, then tilt it gently to gather all those succulent juices. Use a fat separator if you have one; it allows you to keep the flavorful liquid while discarding excess fat.
Importance of scraping the pan for flavor
One often-overlooked step in making the perfect gravy from drippings is deglazing the pan. After you’ve poured off the drippings, use a wooden spoon to scrape up the flavorful brown bits stuck to the bottom. These morsels burst with flavor and add depth to your gravy. Just a splash of wine or broth can help lift these bits off the pan.
Adjusting seasoning to suit your meal
As you whisk your gravy to its desired thickness, don’t forget to taste and adjust the seasoning. The key is to make sure it complements your dish. If you find it too salty, a bit of cream or milk can do wonders to balance the flavor. Adding a pinch of fresh herbs can elevate your gravy and make it a perfect partner for any meal.
By following these tips, you’re well on your way to creating a delicious gravy from drippings that will make your dishes unforgettable.
Serving Suggestions for Gravy From Drippings
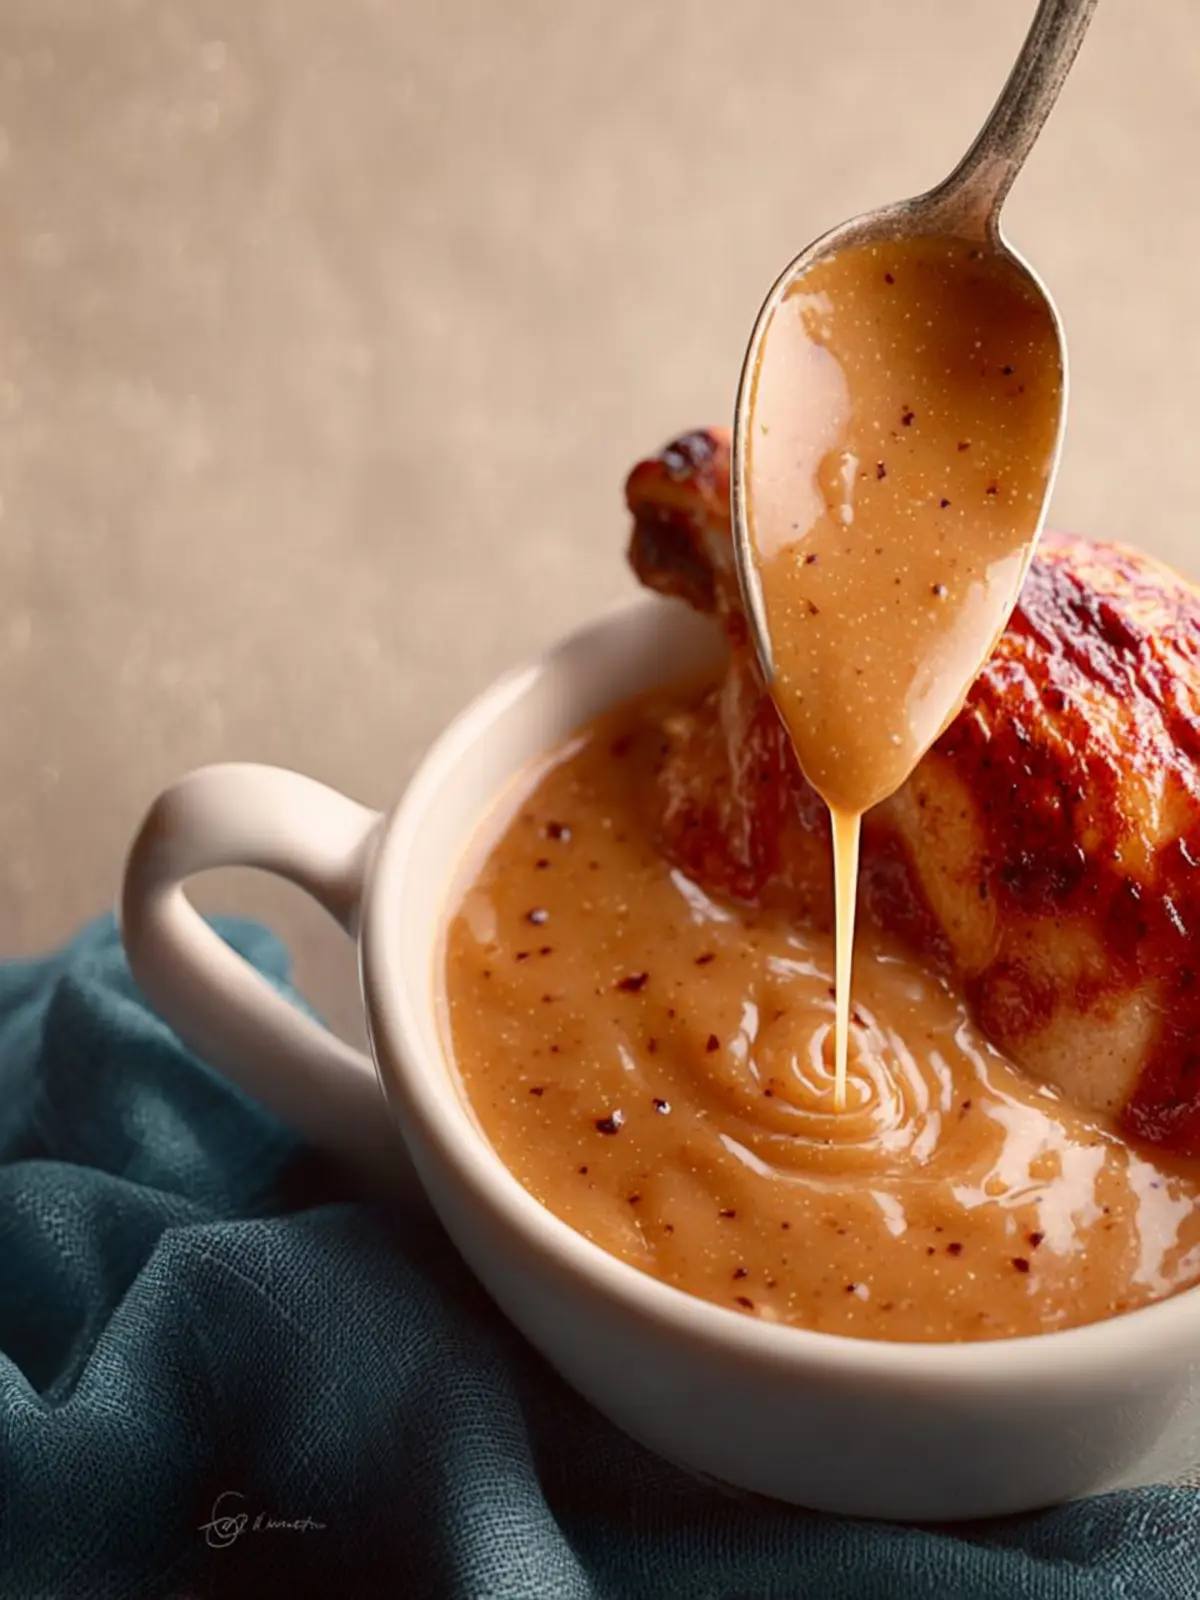
Gravy from drippings transforms any meal into a comforting feast, elevating the flavors of your favorite dishes. Picture this: you’ve just roasted a succulent chicken, and the pan drippings are beckoning to be turned into a rich, savory gravy. Now, what to do with this glorious creation? Let’s explore some deliciously satisfying ways to serve it.
Pairing with Roast Meats
Few things are more indulgent than drenching your perfectly roasted meats in gravy from drippings. From turkey to pork, a generous ladle of gravy enhances both the flavor and the enjoyment of each bite. Try serving it with:
- Roast Chicken: The subtle flavors complement the juicy, tender chicken.
- Prime Rib: A good cut deserves an exquisite sauce, and nothing does it better than homemade gravy.
- Pork Loin: The sweetness of the pork pairs beautifully with the savory and salty notes of your gravy.
Using Over Mashed Potatoes or Rice
Imagine creamy mashed potatoes or fluffy rice, crowned with a warm blanket of gravy from drippings. This combo is a classic comfort food match made in heaven. A few tips:
- Mashed Potatoes: The creamy texture juxtaposed with savory gravy is a mouthwatering delight.
- Rice Bowls: Top your rice with gravy for an easy weeknight meal. Throw in some steamed vegetables for a balanced plate.
Creative Uses for Leftover Gravy
Leftover gravy from drippings doesn’t have to be a stray thought in the back of your fridge! Use it creatively in:
- Savory Sauces: Mix it with sautéed mushrooms for a delightful pasta sauce.
- Soup Base: Stir it into your next soup for added depth of flavor.
- Casseroles: Drizzle it over baked dishes before popping them in the oven.
With these suggestions, gravy from drippings will become a versatile companion to your culinary creations!
Time Breakdown for Gravy From Drippings
Creating gravy from drippings is not just a culinary task; it’s a way to elevate your meal into something truly special. Understanding the time involved can help you plan effectively and enjoy the process without any stress.
Preparation time
Getting everything ready for your gravy from drippings takes about 10 minutes. This includes gathering your ingredients, which typically consist of the leftover drippings from your roasted meat, flour, and broth or water.
Cooking time
Cooking the gravy from drippings will take around 15 minutes. During this time, you’ll be whisking the drippings with flour to create a smooth roux, followed by gradually adding your liquid to achieve the desired consistency.
Total time
In total, you’re looking at approximately 25 minutes from start to finish. This allows you to whip up a delicious and flavorful gravy that enhances your meal beautifully, all without taking too much time away from your guests or your other dishes.
Nutritional Facts for Gravy From Drippings
Creating the perfect gravy from drippings is not just about flavor; it also comes with its share of nutritional benefits. Understanding these facts allows you to savor your meals more mindfully.
Calories
In a typical serving of gravy from drippings, you can expect approximately 60-80 calories. While this might not seem like much, it can quickly add up if you’re generous with the pour!
Protein
One of the hidden benefits of gravy is its protein content, primarily derived from the meat drippings. A serving usually contains about 2-3 grams of protein, which can contribute modestly to your daily intake.
Sodium
On the flip side, gravy from drippings can be higher in sodium, with around 300-400 mg per serving. It’s worth keeping in mind, especially if you’re watching your salt intake. Making homemade gravy allows you to control the amount of salt and create a healthier option.
FAQs About Gravy From Drippings
Gravy from drippings is the cherished sauce that takes your meal from good to unforgettable, but you might have a few questions about achieving that perfect consistency or flavor. Let’s dive into some common inquiries to help you make a delicious drizzle that complements your favorite dishes.
Can I use vegetable drippings for a vegetarian gravy?
Absolutely! If you want to whip up a vegetarian version of gravy from drippings, simply use vegetable broth and add your favorite sautéed veggies for flavor. Caramelized onions, mushrooms, or garlic can work wonders. You might miss the meatiness of traditional drippings, but the flavor from the veggies will bring its own delightful essence to your gravy.
What if my gravy turns out too thick?
A thick gravy can have its merits, but if it’s more like paste than sauce, don’t worry! Just whisk in a little extra broth or water—one tablespoon at a time—until it reaches the desired consistency. Sometimes, adding a splash of white wine or milk can also help smooth it out. A gentle heat will keep everything beautifully blended.
How can I store leftover gravy?
Leftover gravy can be a blessing for your future meals! Allow it to cool to room temperature, then transfer it to an airtight container. It can be refrigerated for about 3 to 4 days. If you want to keep it longer, consider freezing it for up to 3 months. Just remember to thaw it in the fridge overnight and reheat gently on the stovetop, stirring as needed to maintain its creamy texture.
With these insights, fear not—your gravy from drippings will be the talk of the table!
Conclusion on Gravy From Drippings
Celebrating the Simple Joys of Homemade Gravy
Creating gravy from drippings is not just about enhancing a meal; it’s about embracing the rich traditions of cooking that bring people together. Whether you’re basking in the aroma of your freshly roasted chicken or turkey, the art of gravy-making transforms modest drippings into a luxurious sauce that elevates any dish it touches. There’s something uniquely satisfying about crafting this flavorful masterpiece from leftovers, reminding us to honor every bit of our cooking efforts.
Encouragement to Experiment and Perfect Your Technique
Don’t hesitate to make gravy from drippings your own! Every cook has a secret twist—be it herbs, spices, or simple temperature tweaks. Keep experimenting with flavors and techniques until you find what resonates with your palate. The more you practice, the more confident you’ll become! Remember, even the best chefs started as beginners in the kitchen. So roll up those sleeves and enjoy the journey of perfecting your homemade gravy.
Print
Gravy from Pan Drippings
- Total Time: 25 minutes
- Yield: Serves 4
- Diet: Gluten-free option available
Description
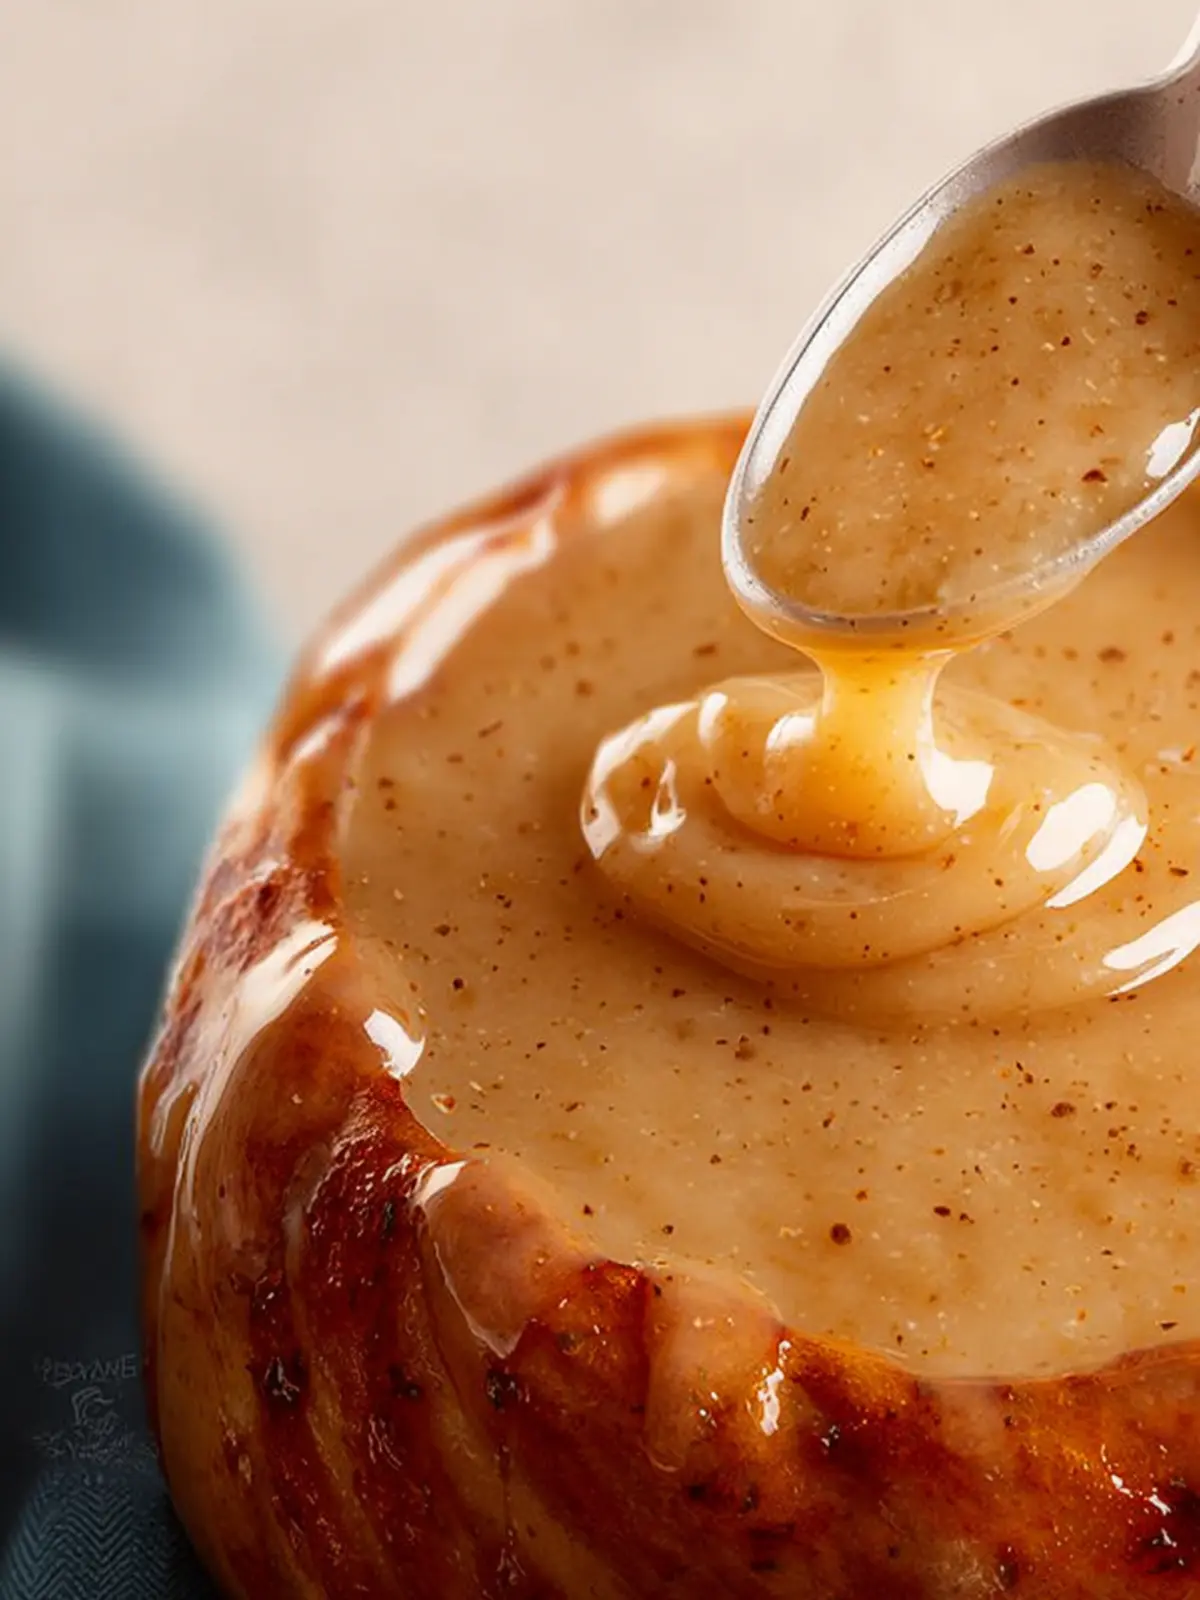
This delicious gravy is made from pan drippings, creating a rich flavor that pairs perfectly with any meal.
Ingredients
Scale
- 1 cup pan drippings from roasted meat
- 2 tablespoons unsalted butter
- 1/4 cup all-purpose flour (or cornstarch as a substitute)
- 1 cup broth or stock, any flavor to match your meal
- 2 tablespoons whole milk
- Salt, to taste (preferably kosher)
Instructions
- Place meat drippings in a measuring cup and refrigerate for 15 minutes.
- Skim 2 tablespoons fat off the top and place in a roasting pan. Discard any remaining fat. If you don’t have enough, add enough butter to equal 2 tablespoons total fat.
- Add enough broth to the liquid drippings to equal 1 cup.
- On the stovetop over medium heat, melt the fat and butter in the roasting pan, scraping up any brown bits left in the pan. If you can’t use your roasting pan, transfer everything to a skillet.
- Stir in the flour to form a roux (paste) and cook for 1 minute or until lightly brown.
- Slowly whisk in the liquid drippings mixture. Bring to a boil then cook until thickened, about 3-5 minutes.
- Remove from the heat and stir in the milk. Taste and adjust for salt. The gravy will thicken as it cools. If this happens, reheat and stir in a little bit of broth to thin it out if needed.
Notes
- For a gluten-free version, substitute the all-purpose flour with cornstarch.
- Prep Time: 15 minutes
- Cook Time: 10 minutes
- Category: Sauce
- Method: Stovetop
- Cuisine: American
Nutrition
- Serving Size: 1/4 cup
- Calories: 80
- Sugar: 1g
- Sodium: 200mg
- Fat: 5g
- Saturated Fat: 3g
- Unsaturated Fat: 2g
- Trans Fat: 0g
- Carbohydrates: 7g
- Fiber: 0g
- Protein: 1g
- Cholesterol: 15mg